How to Set Up Google Tag Manager
Follow this step-by-step guide to set up Google Tag Manager with Consent Pro.
1. Remove the <noscript> Tag from Google Tag Manager
Remove the Google Tag Manager <noscript> tag from wherever Google Tag Manager is installed on your site — usually the shared page template or layout that renders <head> and <body>.
2. Import the Consent Pro Template to Google Tag Manager
- Download the Consent Pro GTM template:
- Open your Google Tag Manager container.
- Navigate to ’Templates’ in the left sidebar.
- In the ’Templates’ tab, click ’New’.
.png)
- Click the three dots icon (⋮) in the top-right corner and select ’Import’.
.png)
- Select the
Consent Pro - GTM Template.tplfile you just downloaded. The Template Editor will load with the Consent Pro configuration.
_(2).png)
- Agree to the Community Template Gallery Terms of Service, then click ’Save’ to add the template to your workspace.
.png)
- Close the Template Editor.
_(2).png)
Done ✅
3. Create the Consent Initialization Tag
- In the ’Tags’ section, click on ’New’.
.png)
- Click on ’Tag Configuration’
.png)
- Select ’Consent Pro - GTM Template’ from the list in the Custom section.
_(3).png)
- Click on “Triggering”.
.png)
- Select ’Consent Initialization - All Pages’. This is crucial as it ensures Consent Pro loads before any collection tags.
_(1).png)
- Name your tag (e.g., "Consent Pro Init") and click ’Save’.
_(1).png)
You have successfully added the Consent Init tag ✅
4. Configure Region-Specific Consent Settings
Region-specific consent settings allow you to define default consent states based on the user's geographic location. This is particularly useful for complying with regional privacy regulations such as GDPR in the European Union or CCPA in California.
By configuring these settings, you can ensure that users from specific regions have their consent preferences initialized appropriately before any tags fire, providing a compliant and seamless experience across different jurisdictions.
- In the ‘Tags’ tab, select the ‘Consent Pro Init’ tag you just added.
_(1).png)
- Click on ‘Tag Configuration’.
_(1).png)
- Click on the ’Region-Specific Consent Settings’ accordion to expand it.
.png)
- Click ‘Add Region Setting’ to create a new region configuration.
.png)
- Select the storage fields based on the examples below.
| Opt In | Opt Out | Don't Sell | Informational | |
|---|---|---|---|---|
| Analytics Storage | Denied | Granted | Granted | Granted |
| Ad Storage | Denied | Granted | Granted | Granted |
| Functionality Storage | Denied | Granted | Granted | Granted |
| Personalization Storage | Denied | Granted | Granted | Granted |
| Ad User Data | Denied | Granted | Granted | Granted |
| Ad Personalization | Denied | Granted | Granted | Granted |
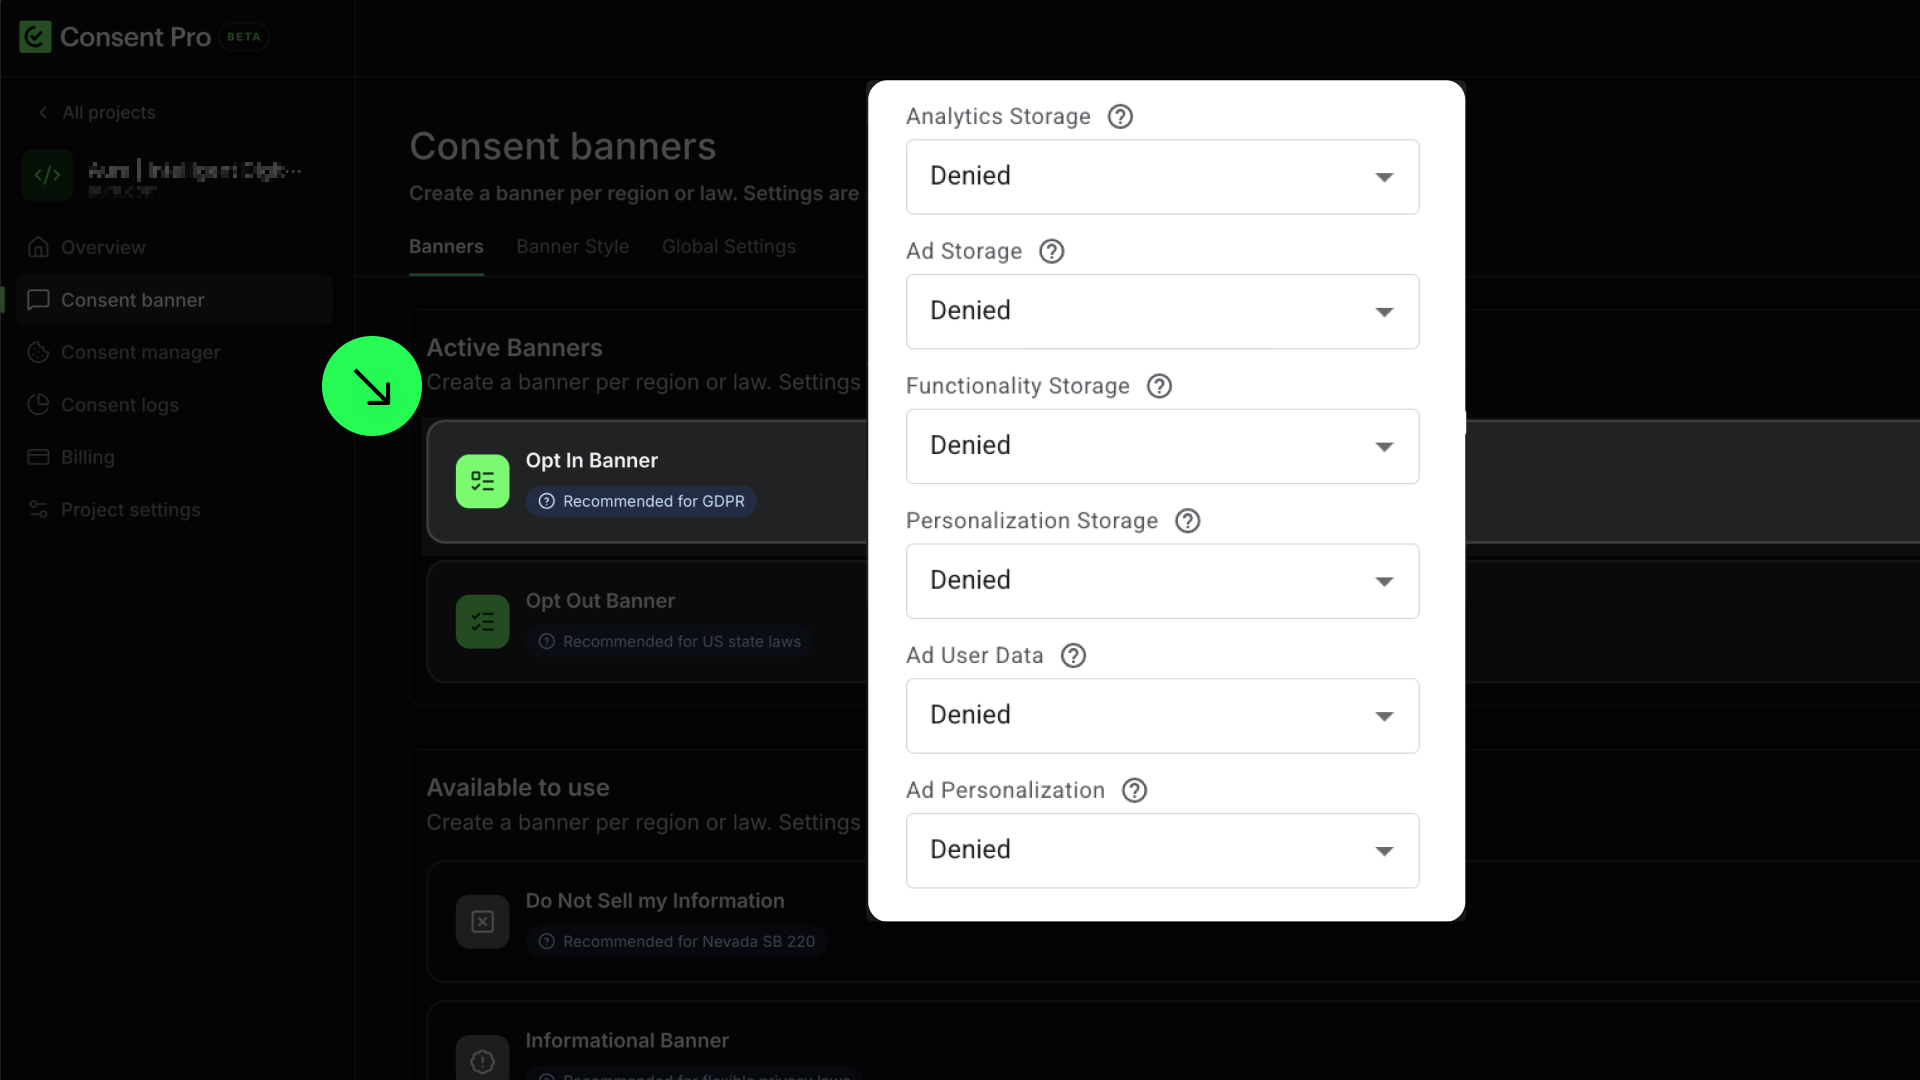
If you have an ‘Opt-in banner’ added to Consent Pro,
Select ’Denied’ in all fields.
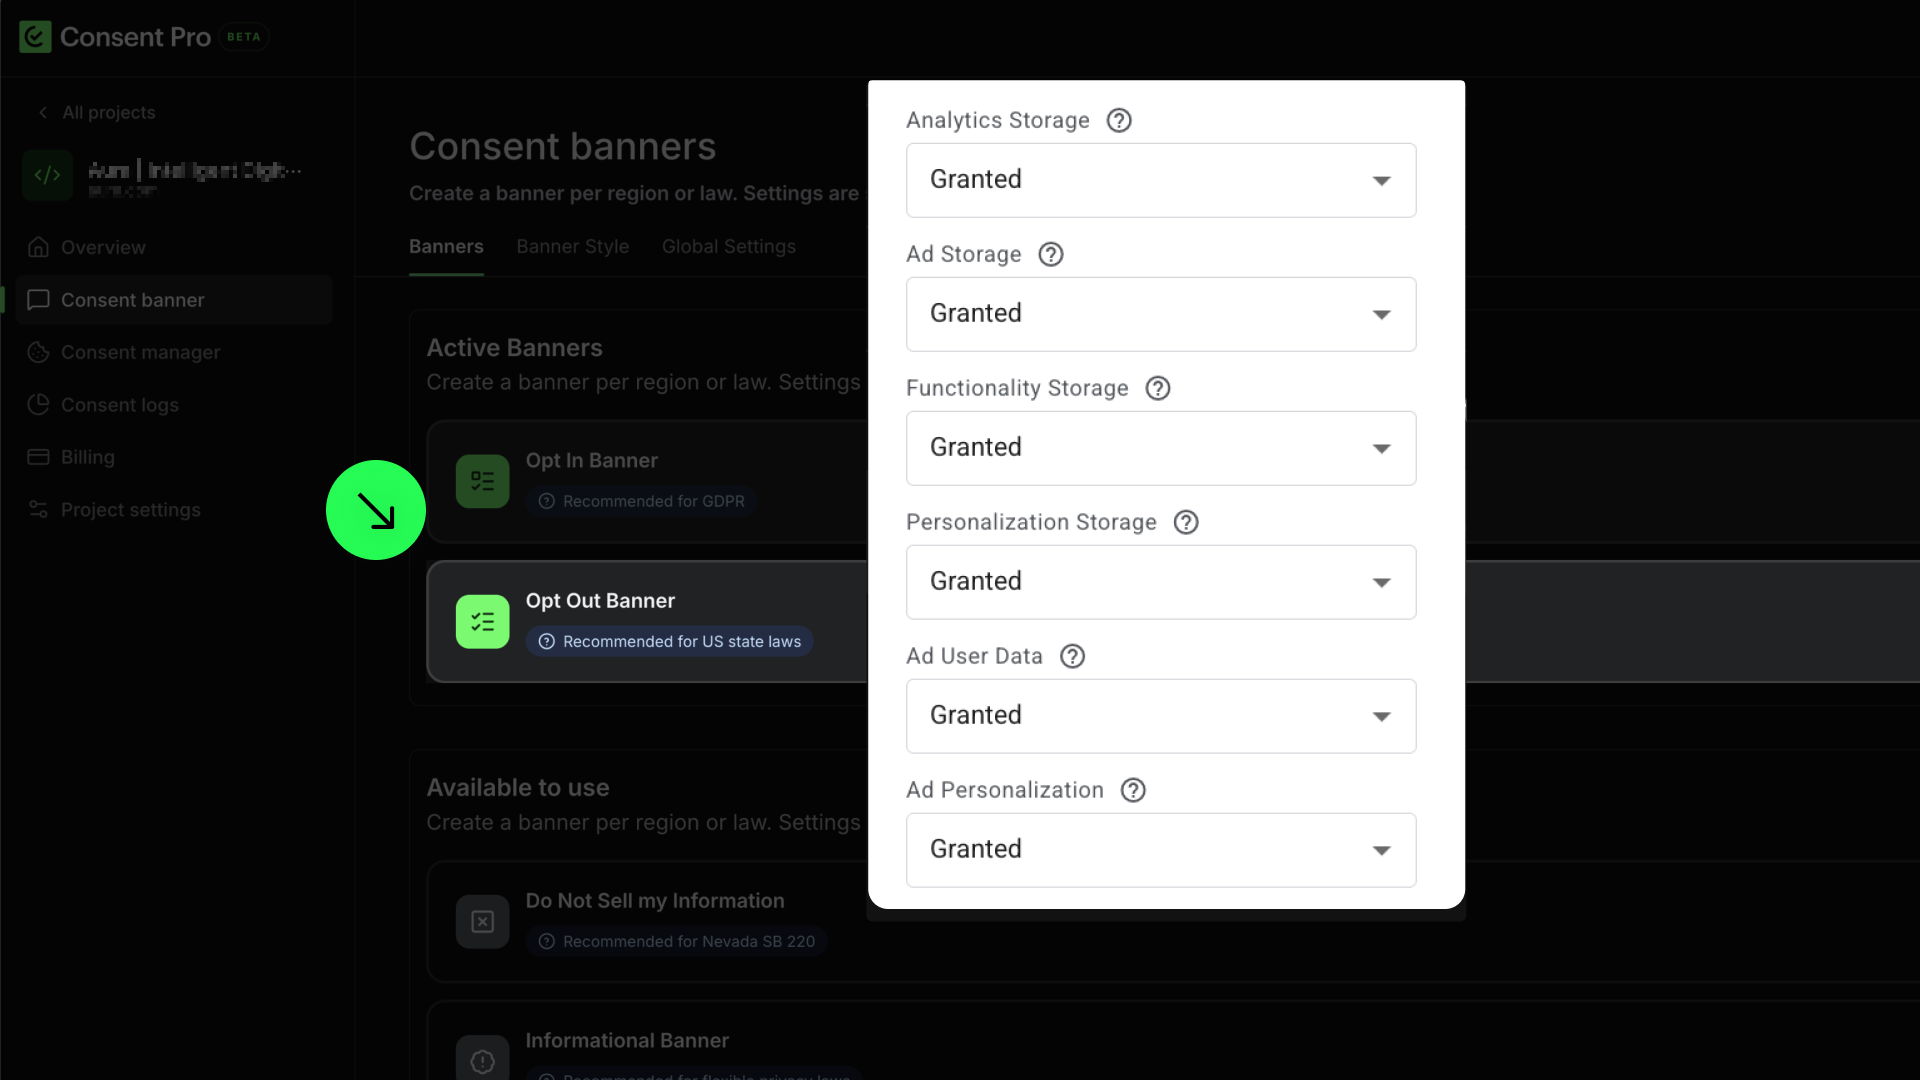
If you have an ‘Opt-out’, ‘Do Not Sell’ or ‘Informational Banner’ added to Consent Pro,
Select ’Granted’ in all fields.
Why this matters
- Opt In (e.g., GDPR): Users must explicitly consent before any tracking. GTM defaults must be
Deniedso tags don't fire until consent is given. - Opt Out / Don't Sell / Informational: Tracking is allowed by default. GTM defaults should be
Grantedsince users can opt out later if they choose.
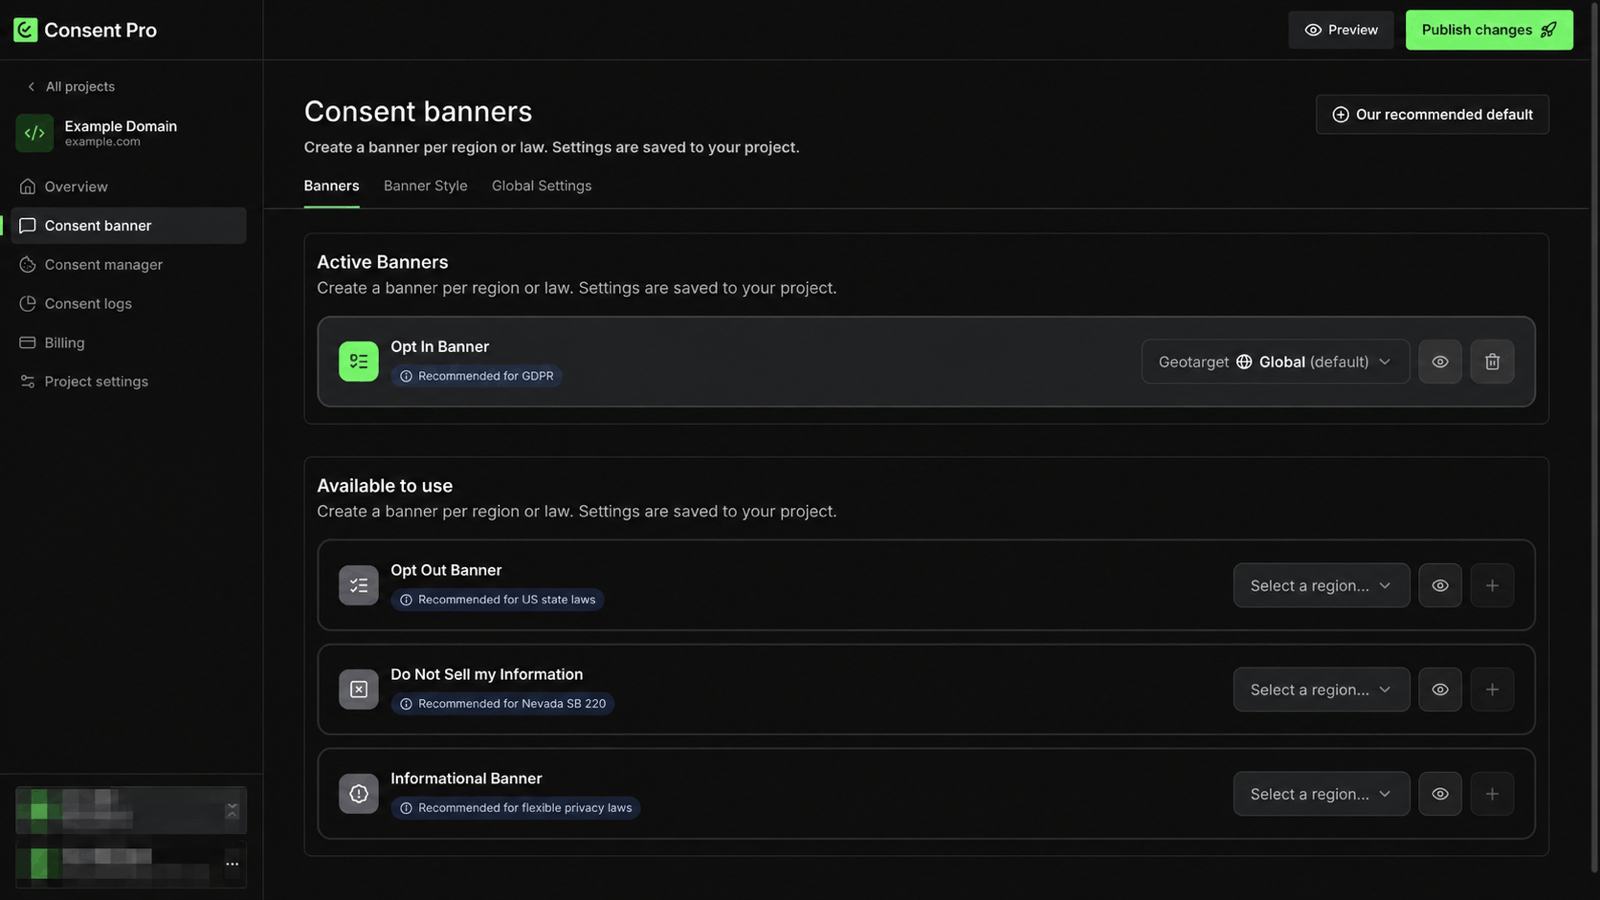
- Fill in ‘Regions’ with the region codes assigned to the banner in Consent Pro.
Open Consent banner > Banners, then open the banner's Geotarget control to review its regions. Enter the corresponding codes in Google Tag Manager as a comma-separated list, such as US-CA,GB,FR.
- For the default banner, enter exactly
Global— do not enter the UI labelGlobal (default). - Use two-letter country codes such as
GBorFR, and ISO 3166-2 subdivision codes such asUS-CAfor US states. - The app's
EUoption is a grouping shortcut. In Google Tag Manager, list the EU country codes andGBindividually rather than enteringEU.
- Click ‘Add’ to finish the region settings.
_(1).png)
Note: If you have more than one banner created in Consent Pro, feel free to add more region settings. Here is an example of a setup with multiple banners.
.png)
- Optional: review whether you need advanced settings.
_(1).png)
- Wait for consent update: Default is
1000ms. This defines the time to wait for a consent update before firing tags. Prevents tags from firing before user consent is processed. Recommended: 500-2000ms. - URL passthrough: Enable if you want to pass advertising click information (gclid, dclid, etc.) through URLs while waiting for consent. Helps preserve attribution data during consent flow.
- Ads data redaction: Enable if you want to remove advertising identifiers from requests when consent is denied. Routes traffic through cookieless domains for privacy compliance.
- Click 'Save' to finish the Regions setup.
.png)
Basic vs Advanced Consent Mode
Consent Pro supports both Basic and Advanced Google Consent Mode. Steps 5–7 below implement Basic mode (the recommended default). Use Advanced mode only if you need GA4 cookieless pings for behavioral modeling — see the dedicated guide for GA4 tag configuration, verification, and troubleshooting.
5. Create Consent Update trigger.
To ensure proper detection and blocking, the triggers must be changed to use custom events from our solution. This allows us to detect the scripts and block them before they load.
- Go to 'Triggers' and click 'New'.
_(1).png)
- Name it 'Consent Updated' and click on 'Trigger Configuration'.
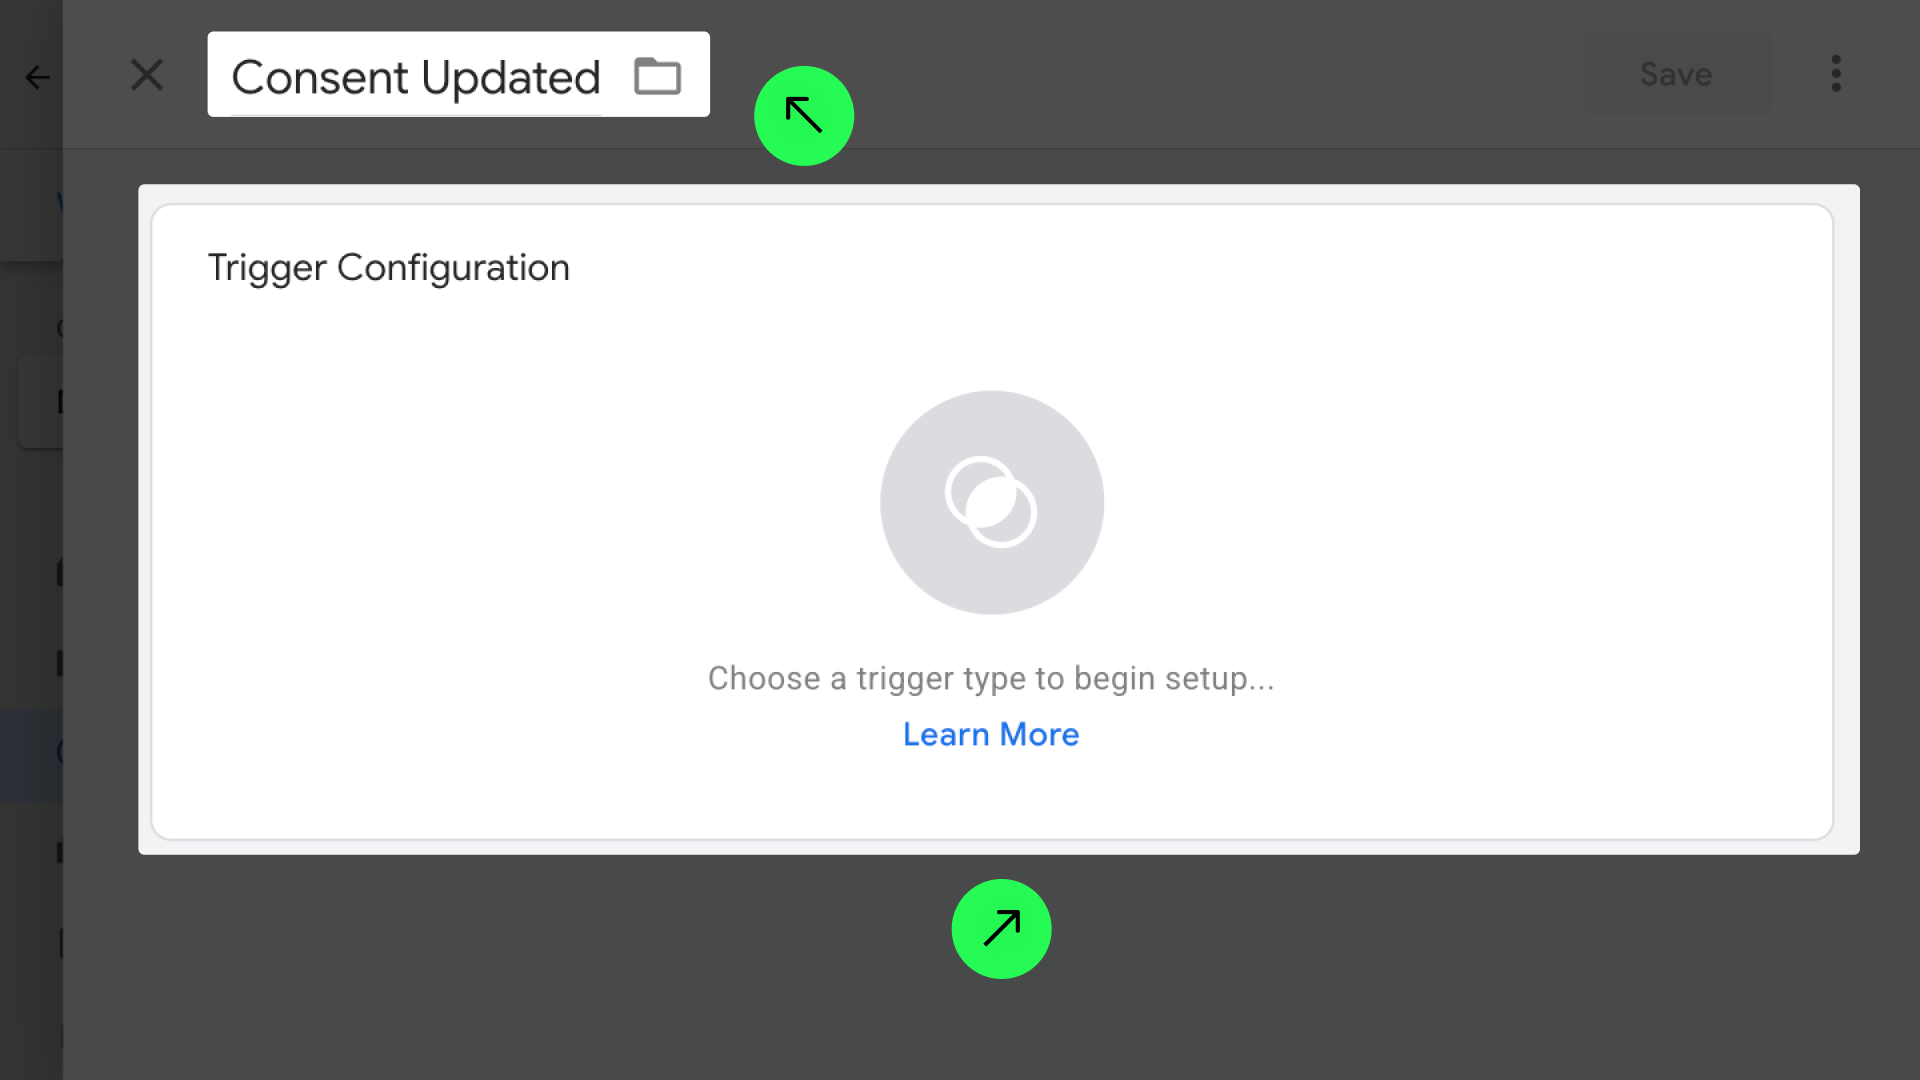
- Choose 'Custom Event'.
.png)
- Fill 'Event Name' with 'consent-updated', and select 'All Custom Events’.
.png)
- and 'Save'.
.png)
6. Update how the scripts are triggered for Cookie compliance
Apply this step to marketing and non-Google tags. If you use Advanced Consent Mode, configure GA4 separately on Consent Initialization instead.
- Select the tag in the ‘Tags’ tab. For this example, we are going to use the 'Facebook Pixel' tag:
.png)
- Click on 'Edit icon'.
.png)
- Remove the current trigger.
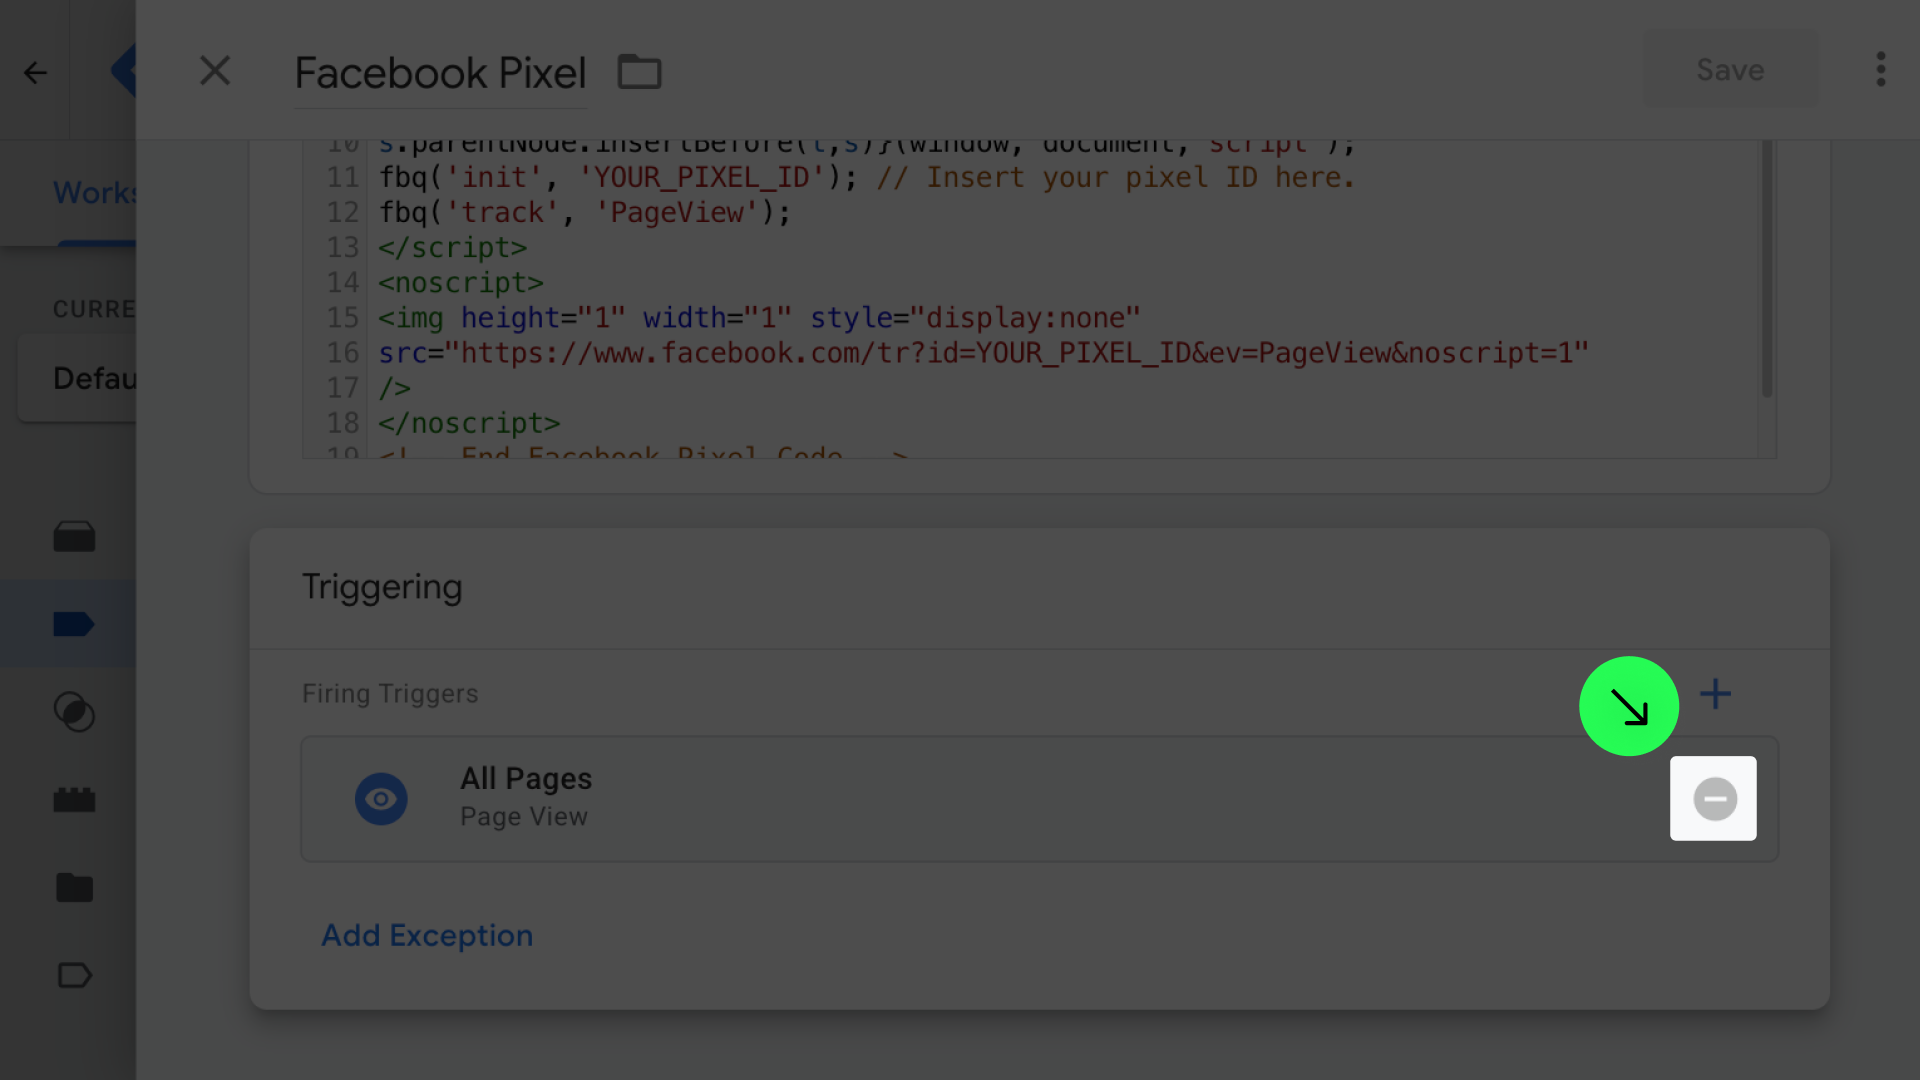
- Click on 'Triggering'.
.png)
- Select the trigger 'Consent Updated'.
.png)
- Do the same for all marketing and non-Google tags in Google Tag Manager. Skip GA4 if using Advanced Consent Mode.
7. Add the respective additional consent checks for your tags.
This is also required to comply with Google Consent Mode v2.
- Ensure the website was scanned recently, or scan the website again.
Our solution will detect the scripts added to Google Tag Manager and help you categorize them. This is an important step to make sure the categories match in the app and in Google Tag Manager.
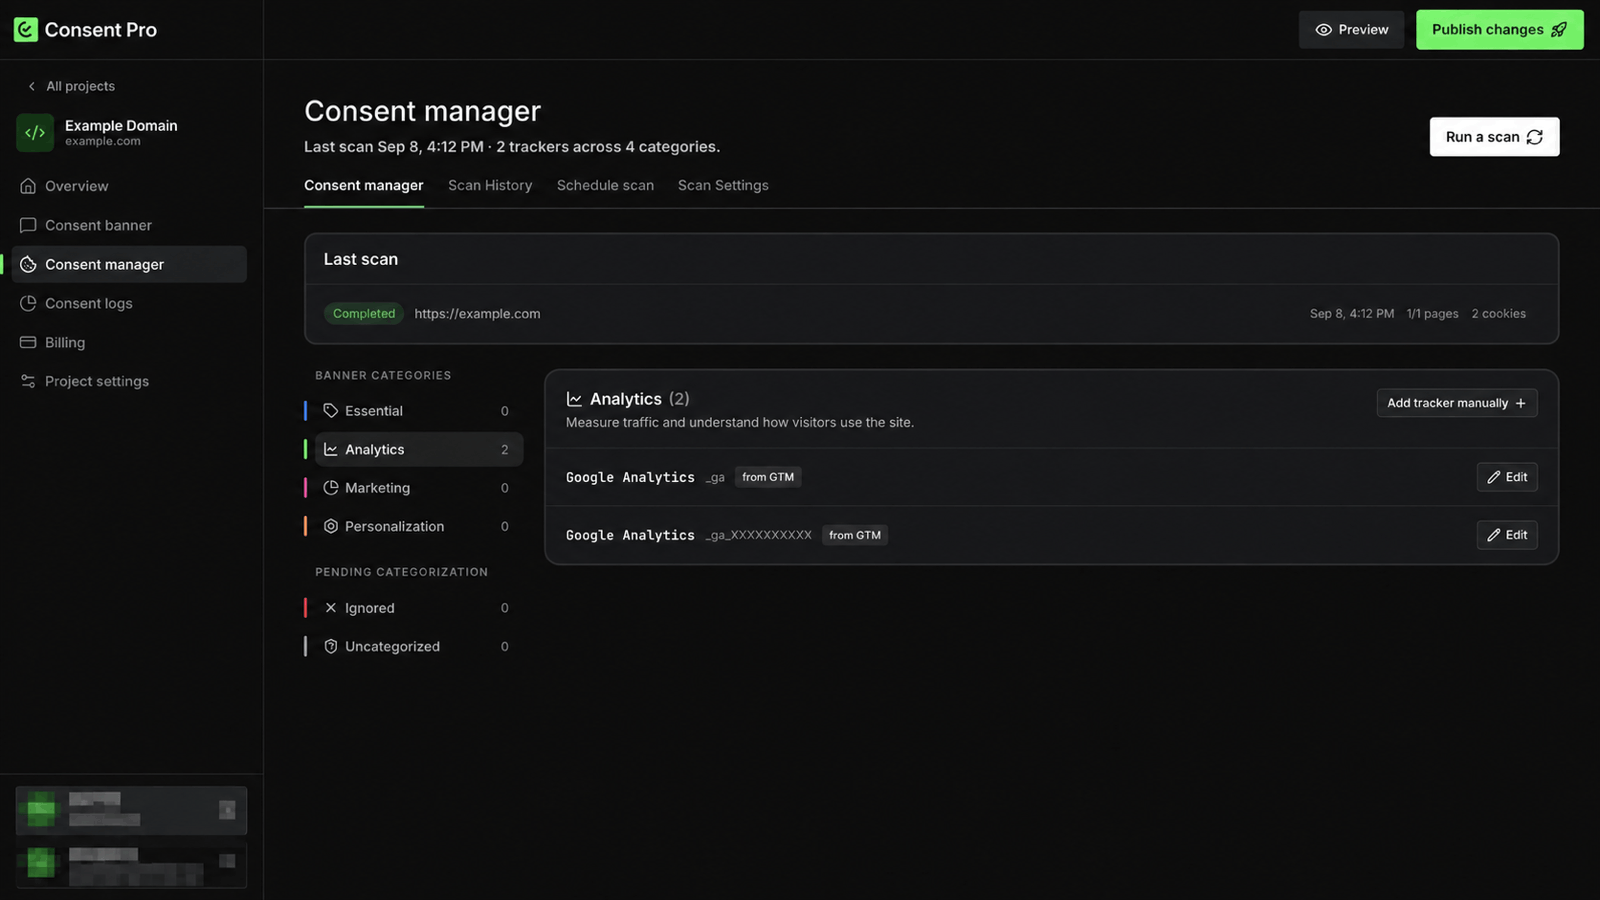
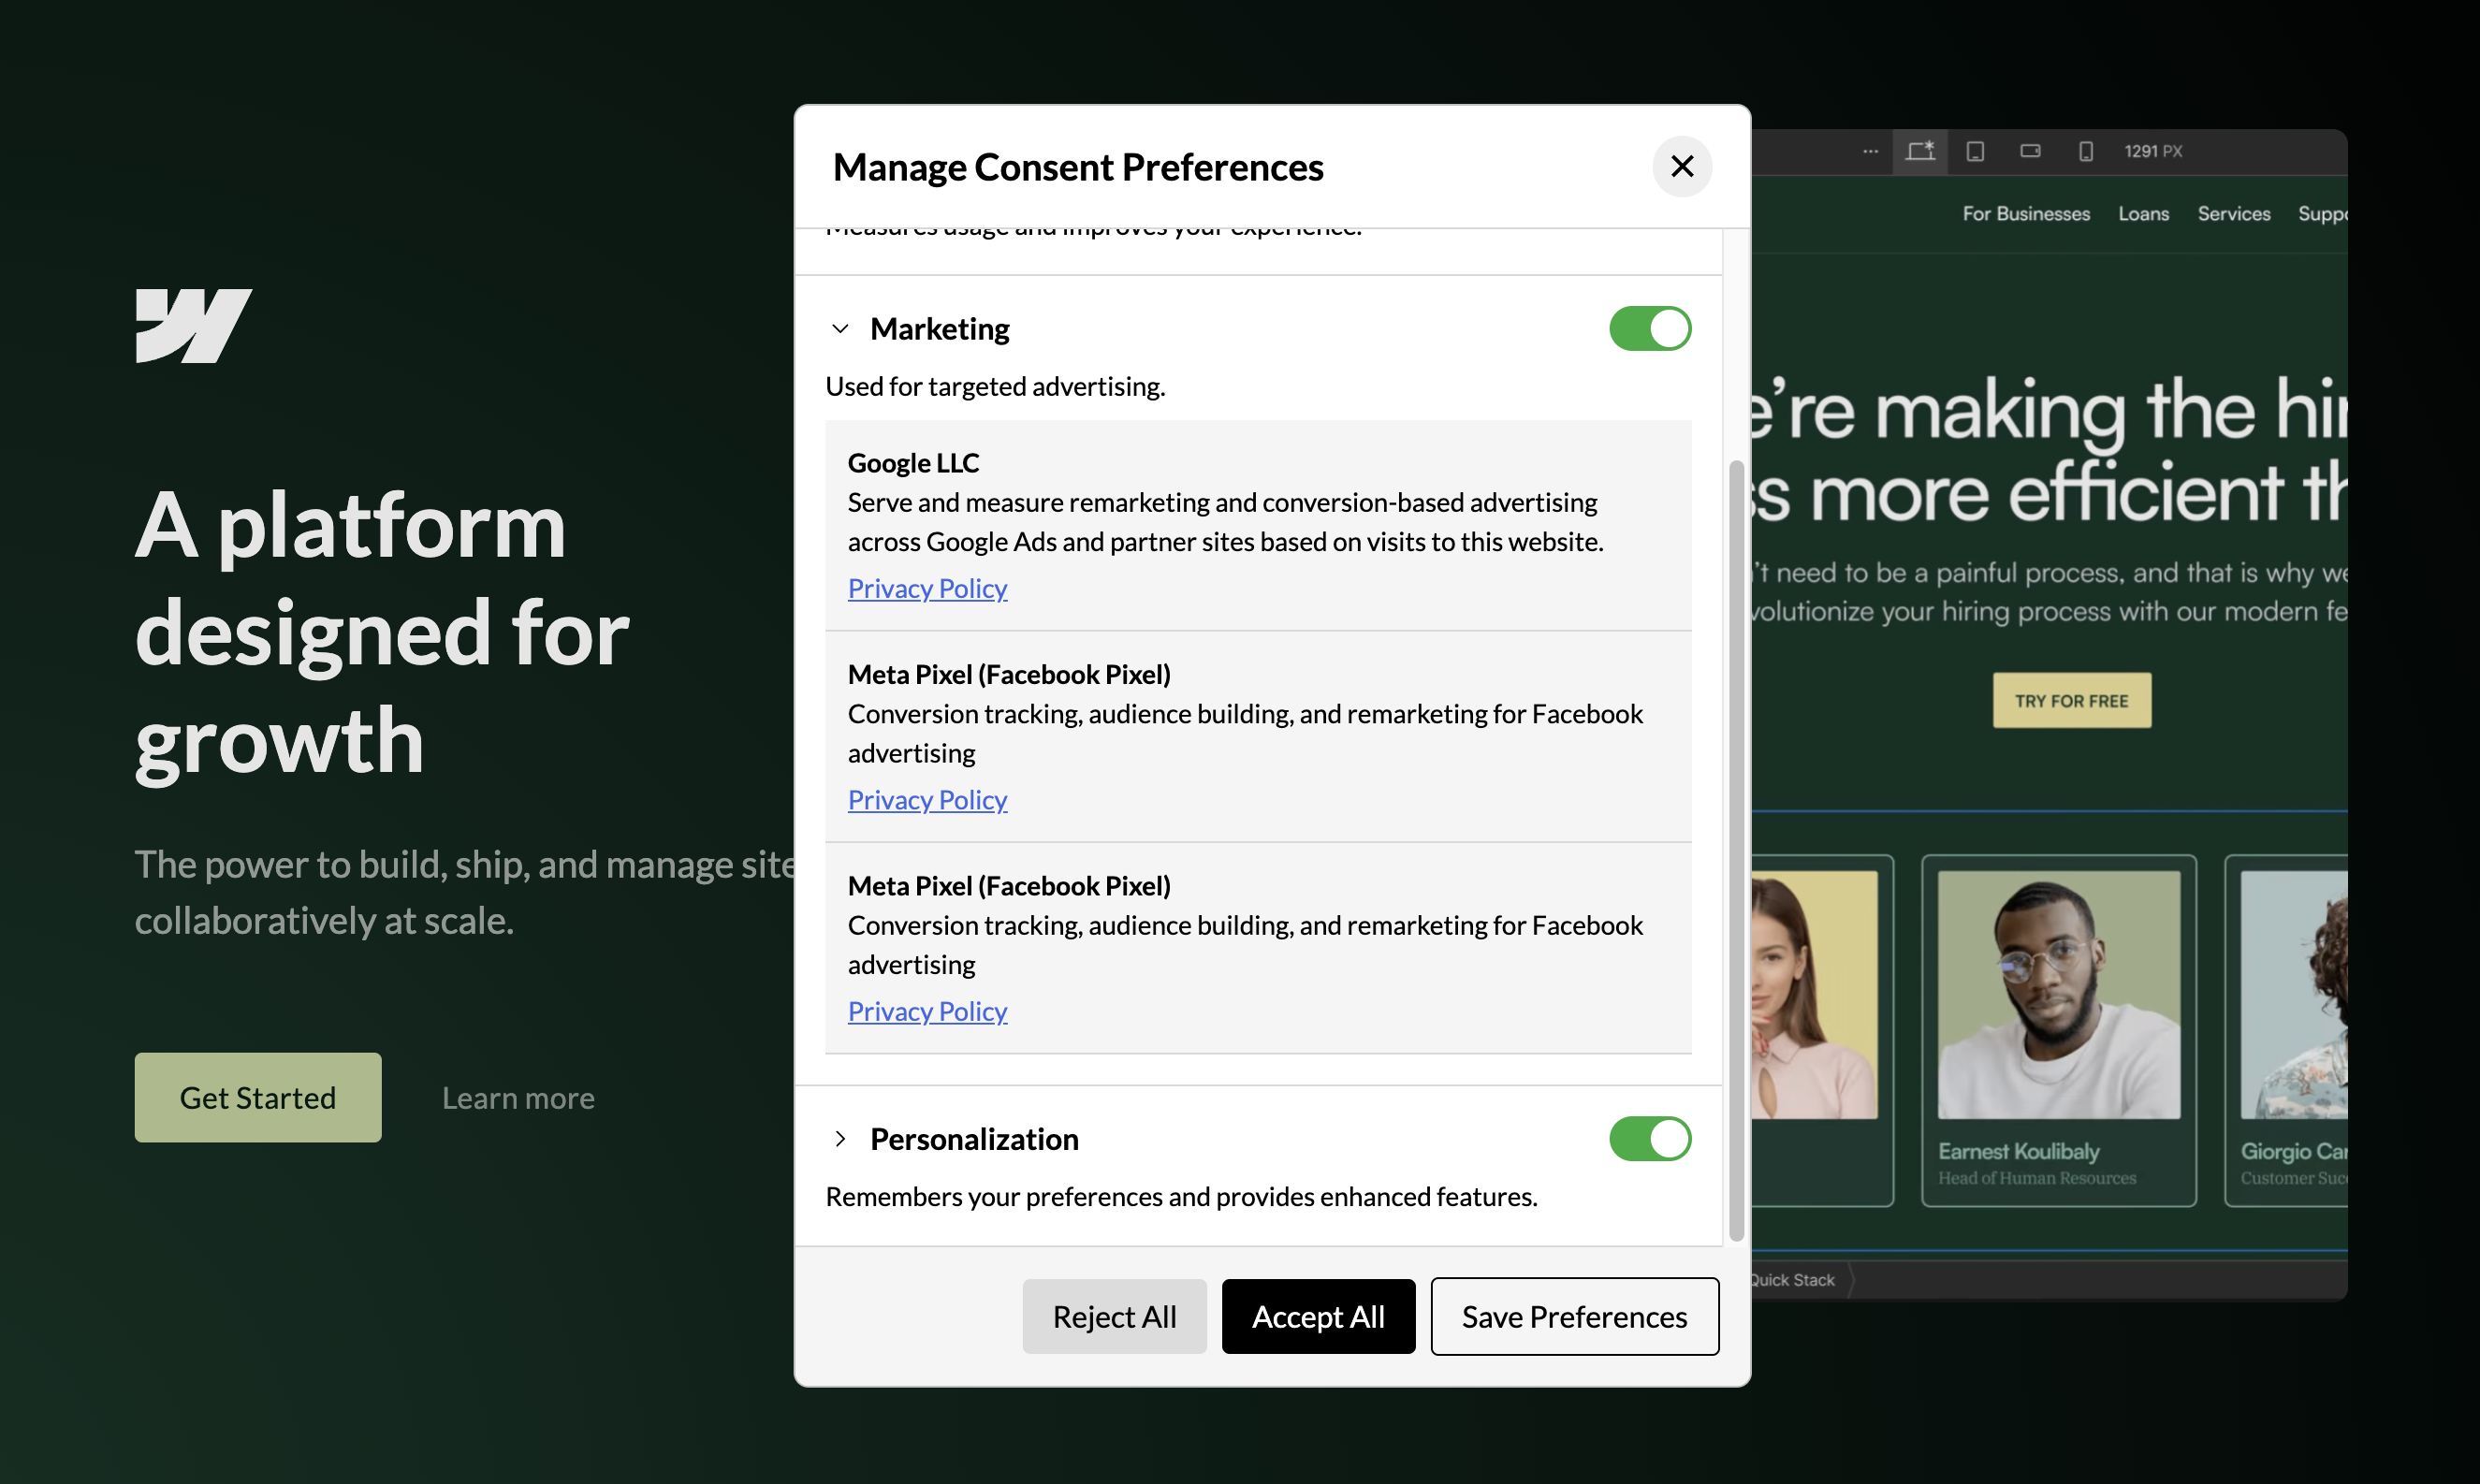
And also to show users the tracker details in the preferences panel.
Note: Our solution only detects scripts from Google Tag Manager that are triggered on 'All Pages' or by Consent Pro custom events such as 'consent-updated' or, in version 1, 'essential-activated', 'marketing-activated', 'analytics-activated', and 'personalization-activated'. If you use a different trigger or another consent tool, update the triggers to 'All Pages' to continue the setup.
⚠️ If your script uses document.write, make sure to enable “Support document.write” in the tag settings. Otherwise, the script may not execute correctly and may not be detected by Consent Pro.
- Select the tag you want to add the additional consent check. For this example, we are going to use the 'Facebook Pixel' tag again:
.png)
- Click on ‘Tag Configuration’.
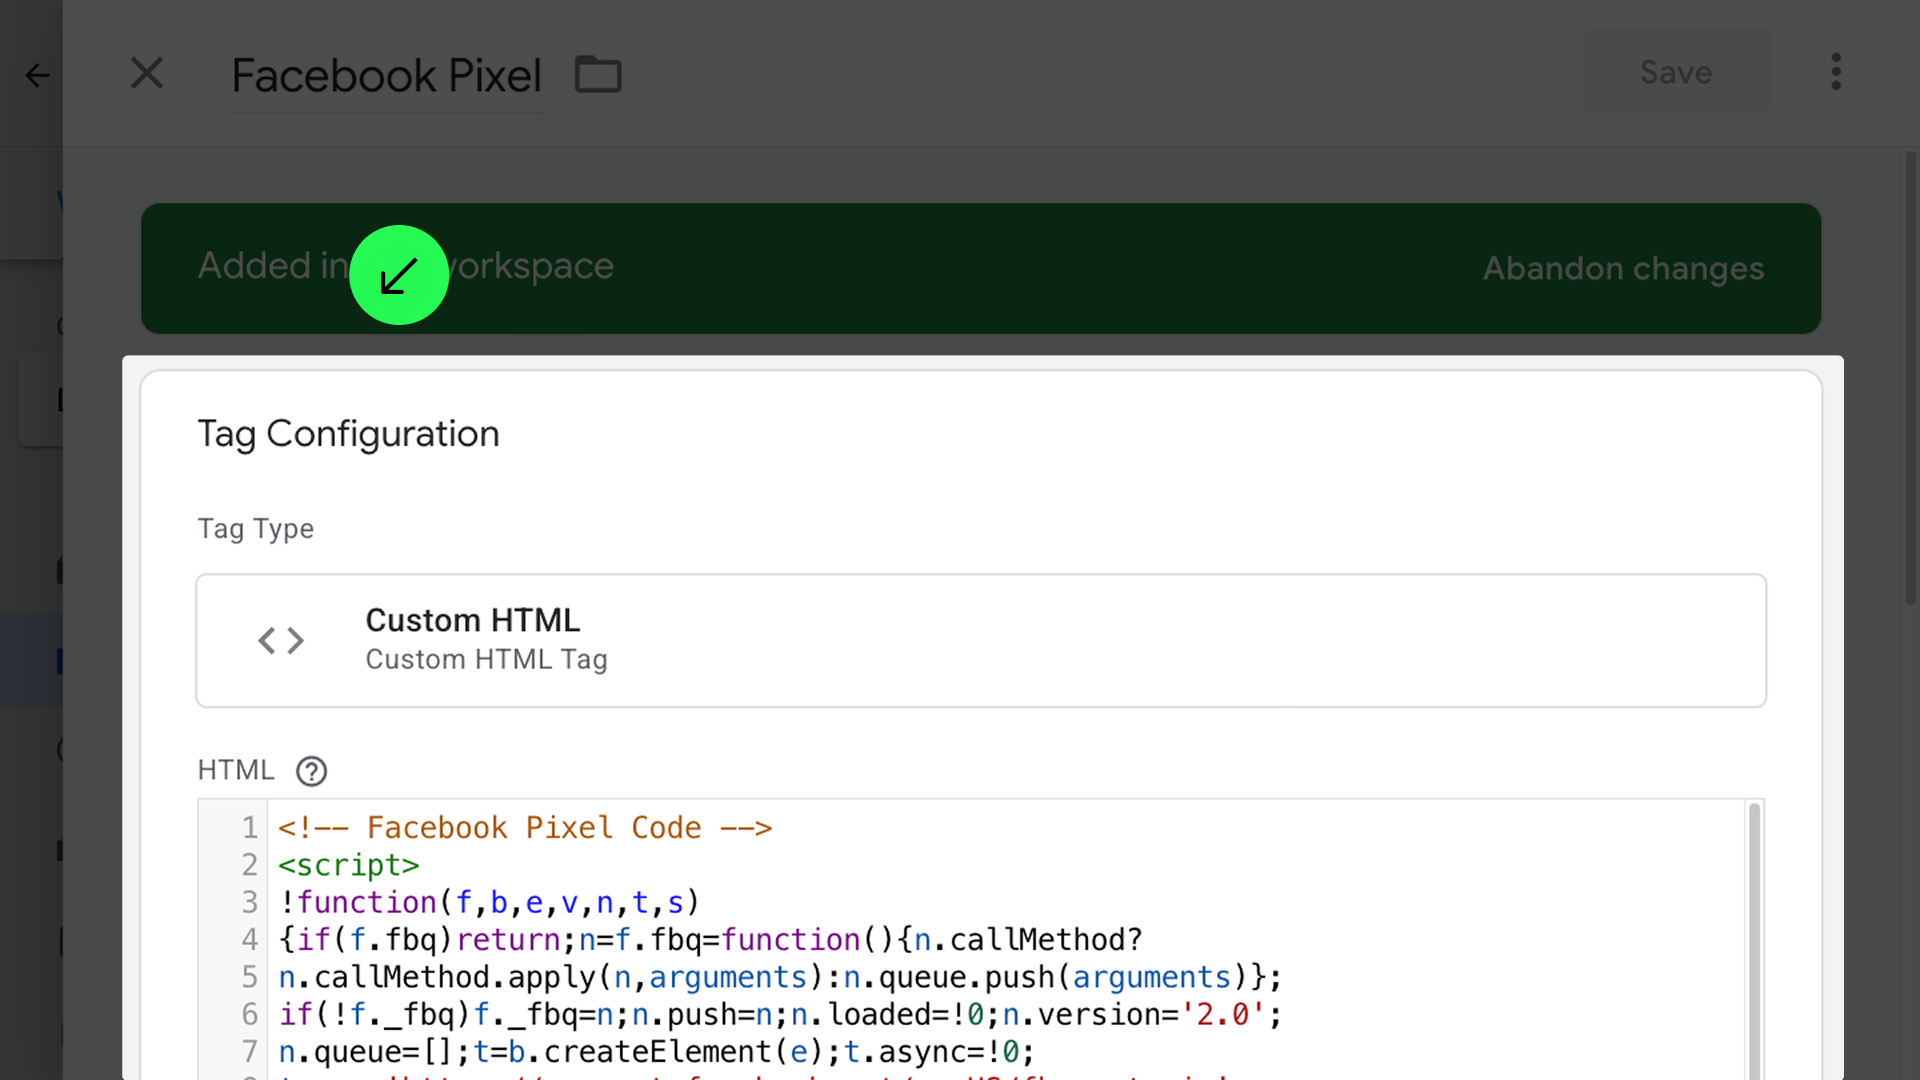
- Go to 'Advanced Settings' > 'Consent Settings' and select 'Require additional consent for tag to fire'.
.png)
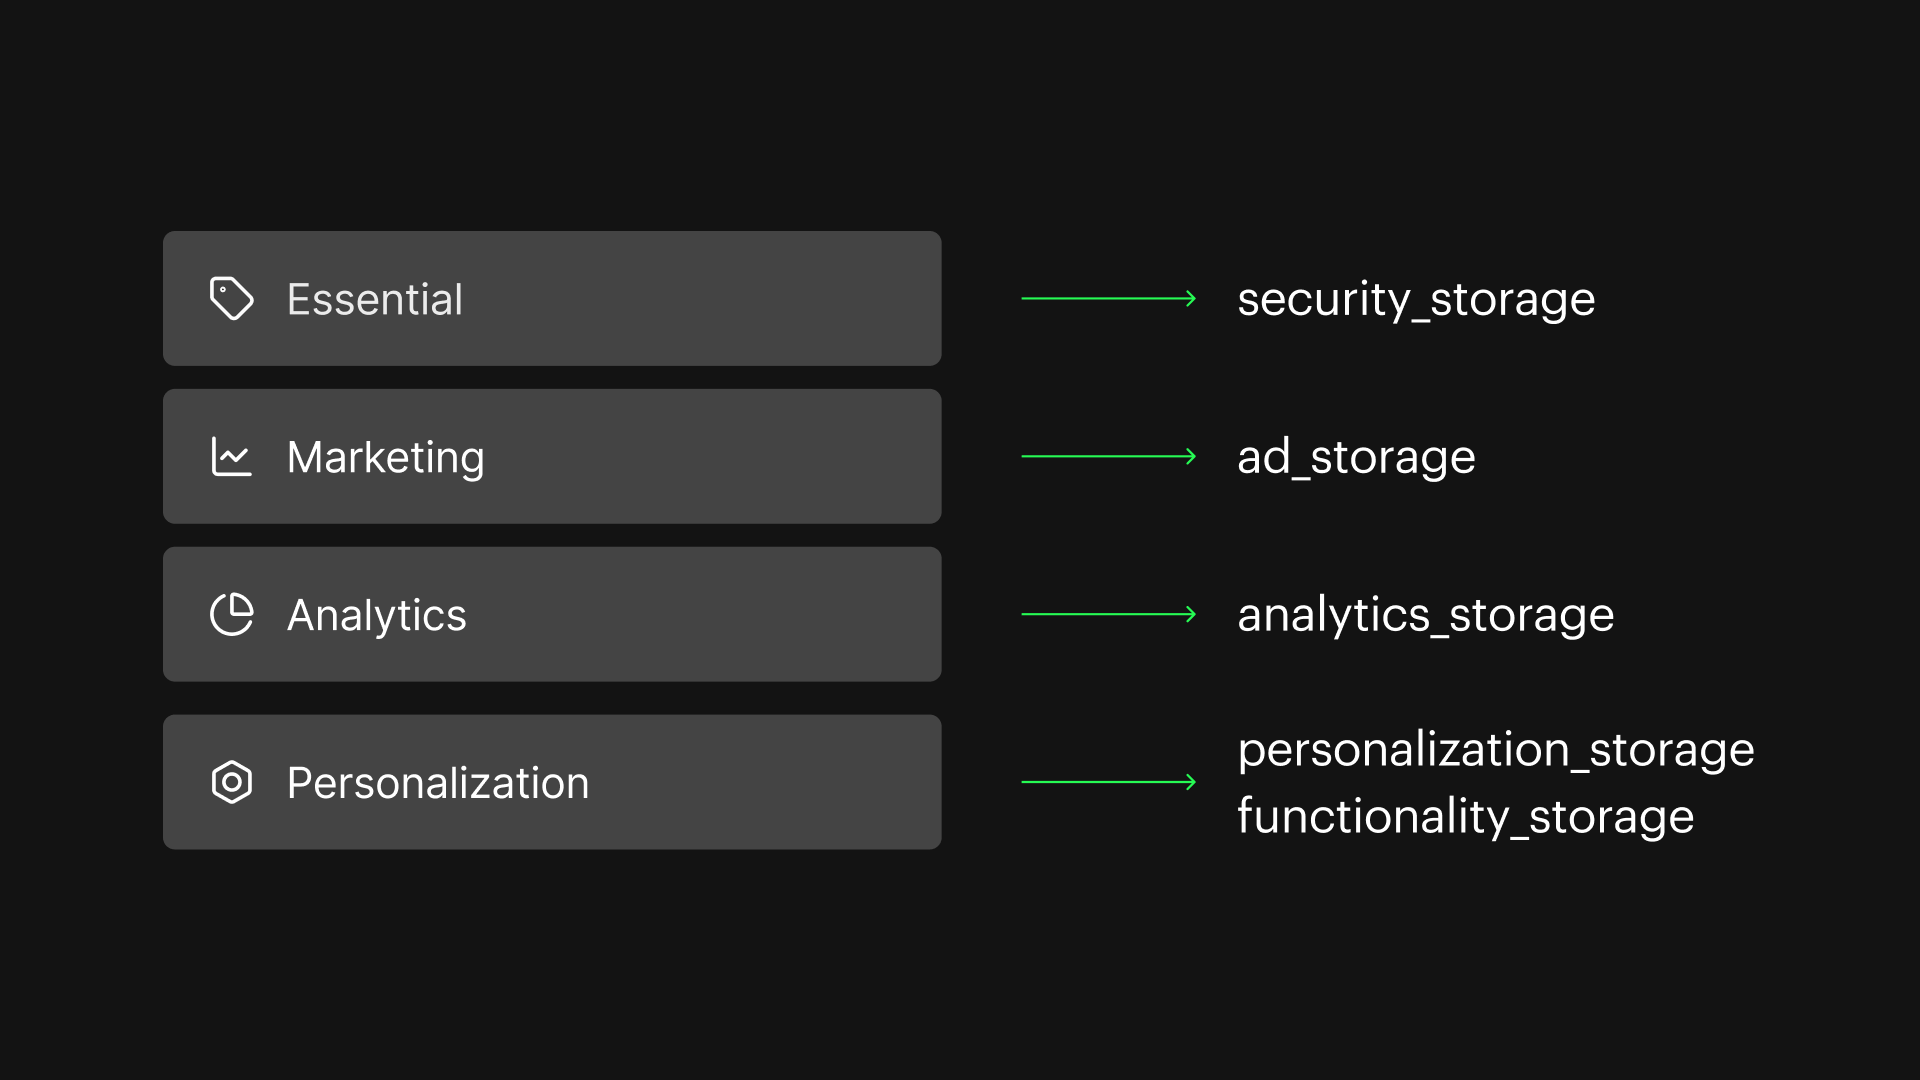
- Choose the additional consents based on the category in the app. (check the visual reference below):
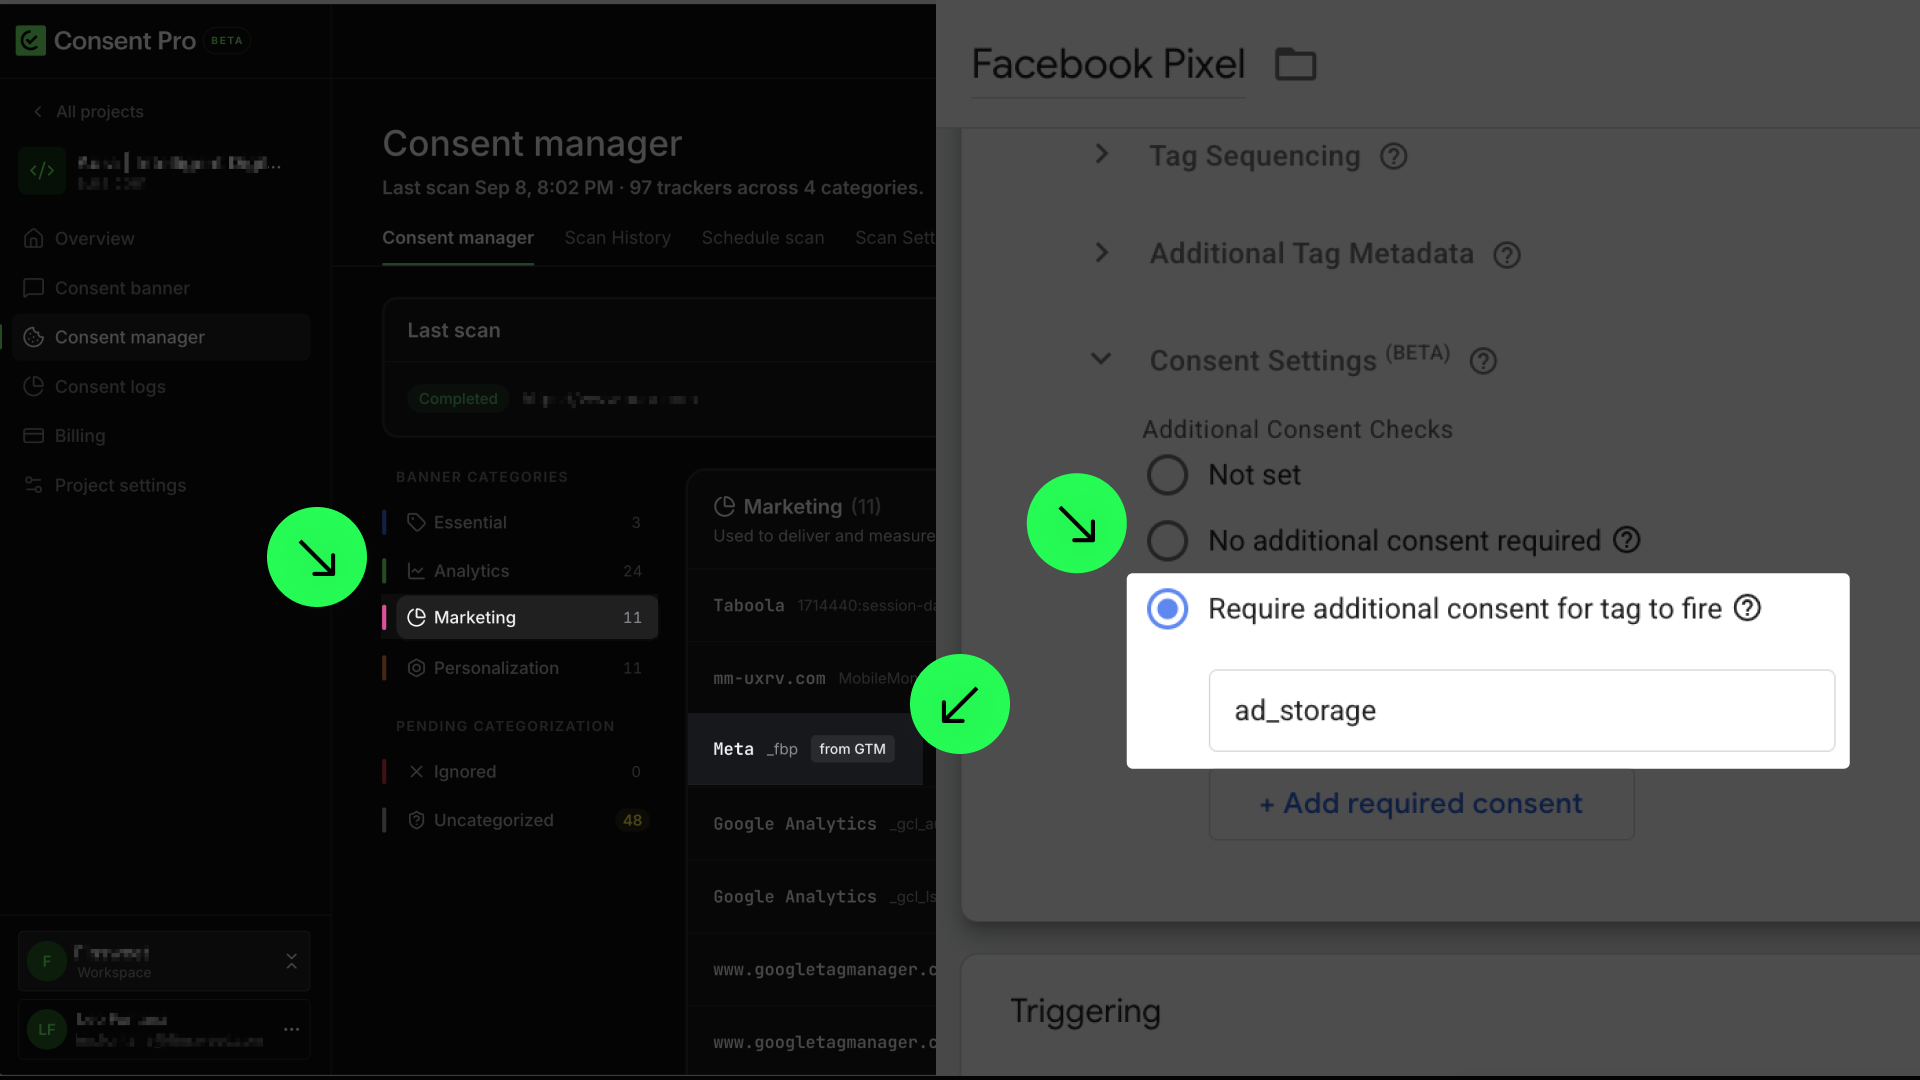
That means the Facebook Pixel script will only load when the user consents to the 'Marketing' category or clicks on 'Accept All'.
- Visual reference for mapping the Consent Pro categories with additional consents:
- Add the additional checks to every tag inside Google Tag Manager that requires user consent.
Note: Some scripts or tags may set trackers with different categories, such as Gtag. In these cases, add multiple consent checks based on the categories in the app.
8. Submit and publish the changes in Google Tag Manager
- Click on 'Submit'.
.png)
- and 'Publish'.
.png)
9. Confirm that the Google Tag Manager setup is completed in the Consent Pro app
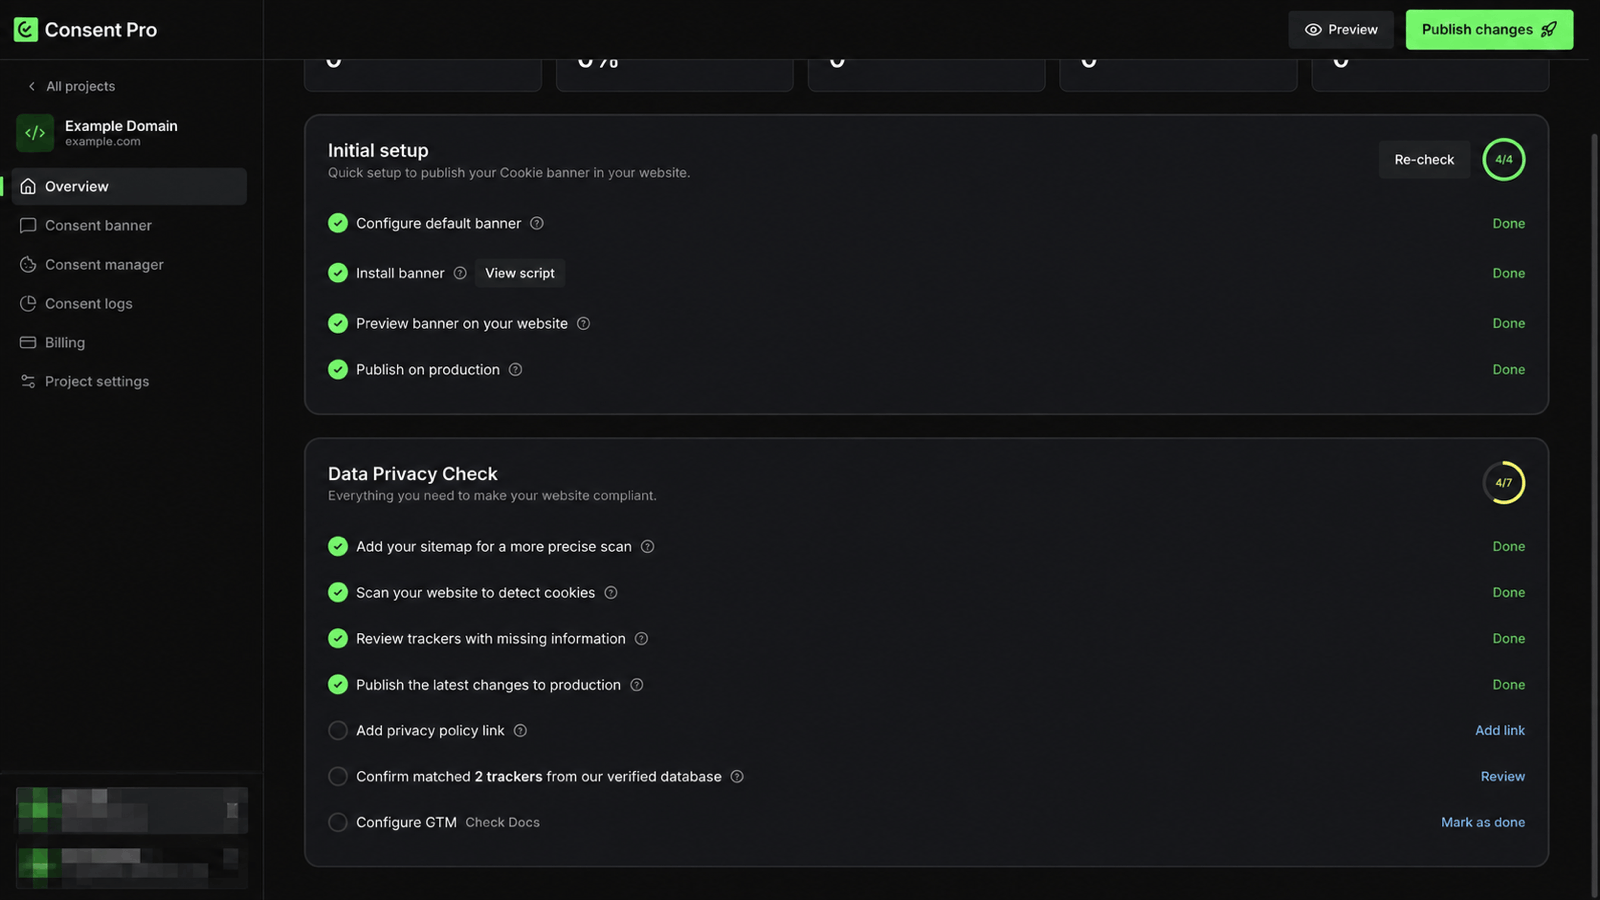
Open the project Overview. In Data Privacy Check, the Configure GTM row links to these docs and offers Mark as done — click it once the container is published.